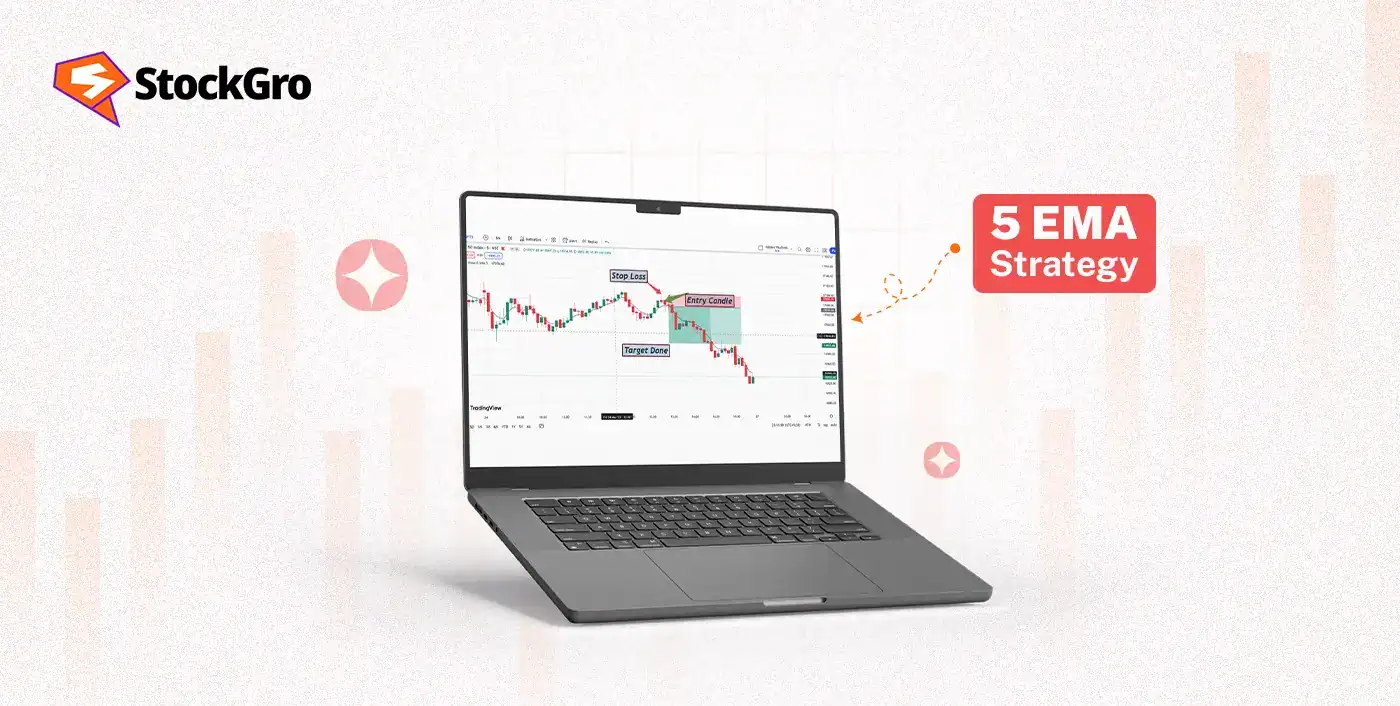
Price swings can feel random until you see them with a clear perspective. The 5 EMA provides you with the right lens to see the momentum behind the price movement and identify shifts or potential reversals. In this article, we’ll see how the 5 EMA strategy functions and how it is used for detecting momentum shifts and forming trade decisions.
What is the 5 EMA (Exponential Moving Average)?
The 5 EMA is a technical analysis tool that finds the exponential moving average of closing prices of the last five trading sessions. Unlike the simple moving average, it assigns more weight to the recent price data.
This weighting system helps in reacting faster to the fresh price changes. The high responsiveness becomes useful for identifying short-term trends, shifts in momentum, and early entry opportunities. The 5 EMA is effective where speed matters, such as intraday trading or scalping.
How the 5 EMA Strategy Works
The 5 EMA strategy revolves around how the price interacts with the EMA line.
- When the price cuts above the EMA, it means the momentum is shifting bullish, and the sellers are fading away. Traders look to enter long positions while closely watching the EMA slope for direction.
- When the price closes below the EMA, it reflects that the buyers are losing strength and the momentum is turning bearish. A short position or exiting your long positions is considered here, while tracing the downward slope of the EMA.
Why Traders Use the 5 EMA Strategy
The 5 EMA is a popular strategy used by traders for the following reasons:
- Faster Trend Detection
The 5 EMA strategy quickly responds to the price momentum due to its weighting system. It helps the traders in early identification of the trend and planning of trades accordingly. - Filter Market Noise
Although sensitive, the 5 EMA reduces the market noise better than a simple price chart. It allows the trader to focus on the immediate trend. - Support/Resistance Level
Traders use this strategy because the 5 EMA is essentially the mean of recent price fluctuations. The support and resistance act as a dynamic threshold for placing the stop-loss and setting targets. - Scalping and Intraday Trading
The 5 EMA works well in short-term trades that use 1-min, 5-min or 15-min charts, where speed is a necessity. It makes the 5 EMA ideal for scaling and intraday trading strategies. - Easy To Combine
This strategy becomes more effective when used with confirmation. Traders use the 5 EMA along with other indicators that improve its reliability.
Timeframes for the 5 EMA Strategy
The effectiveness of the 5 EMA depends heavily on the timeframe selection.
Short Timeframes (1 to 3 Minutes)
In such short timeframes, the 5 EMA responds extremely fast to the price movement. Scalpers use them to identify and benefit from minute fluctuations in the price.
Medium Timeframes (5 to 15 Minutes)
On 5 and 15-minute charts, the 5 EMA provides a balance between speed and clarity. The signals are slightly smoother but are still fast enough to capture the short-term trend.
Higher Timeframes (Hourly and Above)
In higher timeframes, the 5 EMA is used to capture the short-term direction within the broader trend. The signals are less frequent but carry more significance.
How to use the 5 EMA for Trend Detection
To identify the trend, notice where the price is closing relative to the Exponential Moving Average (EMA) line, as how these two interact determines the trend.
- If the price climbs above the EMA line and consistently closes above it, it means the trend is bullish and upward momentum is likely to continue.
- If the price has dropped and is closing below the EMA line, it reflects a downward trend and bearish momentum.
How to Spot Buy Signals with 5 EMA
To spot a buy signal, wait for the price to close above the 5 EMA or look for the price to pull back to the EMA during an uptrend. Check the next candles and trading volume to confirm the signal. The focus should be on identifying a sustained momentum.
After identifying a buy signal, you enter a long position, setting the stop-loss ceos to the recent swing low.
How to Spot Sell Signals with 5 EMA
A sell signal appears when the price closes below the 5 EMA, after trading above it, or when the price rallies to the EMA but fails to recover. The candles start turning bearish, and rising volume adds to the confirmation of the selling strength.
In such a situation, you can exit your long position or short-sell with the stop-loss set at the recent high swing.
Choosing the Right Timeframe for Beginners
Beginners are often confused about which timeframe they should be using. Faster ones will create too many signals and result in noise. The higher timeframes will be smoother, but there is a possibility of missing opportunities.
For individuals who have just started or are fairly new to reading, the 5 to 15-minute timeframes will work the best. The signals will be smooth and reliable, while being fast enough to see the pattern clearly.
For beginners, focus and control are more vital than achieving the highest possible returns.
Using 5 EMA with Other Indicators (RSI, MACD)
When the 5 EMA is used with other indicators, it becomes more reliable, and the quality of signals is improved.
- The Relative Strength Index (RSI) shows the momentum strength on a scale of 0 to 100 to reveal whether the buying or selling pressure is increasing.
Assume a stock climbs from ₹200 to ₹210 and then closes above the 5 EMA at ₹212. During this movement, the RSI also rose from 48 to 60, indicating the growing strength of buyers. You can enter long at around ₹213, placing the stop-loss at ₹204 and the target near ₹230.
- The Moving Average Convergence/Divergence (MACD) tracks shifts in the momentum with crossovers and histograms.
In another case, a stock drops from ₹500 to ₹480 and closes below the 5 EMA at ₹478. MACD crosses below the signal line, and the histogram turns negative. You can take a short position at ₹476, placing the stop-loss at ₹492, and aim for a target of ₹450.
Entry and Exit Rules Based on 5 EMA
Clear entry and exit rules help reduce emotional trading and improve consistency.
| Rules | Bullish Setup | Bearish Setup |
| Entry | Enter when the price closes above a rising 5 EMA | Enter when the price closes below a falling 5 EMA |
| Stop-Loss | Place stop-loss below the recent swing low | Set stop-loss above the recent swing high. |
| Target | Aim for the next level of resistance | Target the next support level |
| Exit | Take an exit if the price closes back below the EMA | Exit your position when the price closes back above the EMA. |
Identifying Trend Reversals with 5 EMA
A trend reversal does not happen suddenly. The 5 EMA can help you notice the early shifts if you follow a structured approach.
Step 1: Watch the EMA Slope
If the 5 EMA has been sloping in one direction but suddenly started flattening, it means that the momentum is losing its strength.
Step 2: Look for a Strong Break
Closely watch the next candle. If it forms in the opposite direction of the 5 EMA, it increases the possibility of a reversal.
Step 3: Check Price Structure
Understand how the price is moving after the break. Look for lower highs in an uptrend and higher lows in a downtrend when identifying a reversal.
Step 4: Wait for Follow Through
Don’t rely on the breakout candle only. Wait to confirm the reveal with subsequent candles before deciding to take a trade position.
Pros and Cons of the 5 EMA Strategy
The advantages of using the 5 EMA Strategy are:
- Highly Responsive: Due to its short time period, the 5 EMA reacts quickly to price changes, reducing the lag compared to other moving averages.
- Beginner-Friendly: This strategy is easy to set up and interpret without the need for any formulas or complex rules, making it suitable for new traders.
- Versatility: It can be used in lower timeframes for generating a signal or even in higher timeframes to identify the short-term direction.
- Dynamic Support/Resistance: During strong price movements, the 5 EMA can be used as a dynamic support or resistance level.
Before using this strategy, make sure you understand its drawbacks:
- Frequent False Signals: The high sensitivity means a lot of signals are generated, which sometimes can be false and result in losses or trap the traders.
- Whipsaws in Sideways Markets: When the price is range-bound, the 5 EMA can create whipsaws, leading to premature entry or exits.
- Confirmation Required: Using the 5 EMA alone can be risky. It is better to use other indicators to confirm the reliability of a signal before taking a trade.
- Lagging Indicator: Even with its faster speed, the 5 EMA still relies on historical data, meaning the signals appear late or after most of the trend has passed.
Conclusion
The 5 EMA strategy is a simple, fast, and effective approach in a trader’s toolkit. It is useful for identifying the trend direction, entry points, and possible reversals. When used with discipline, proper risk management, and along with other indicators, the 5 EMA strategy became a structured and reliable trading method.
FAQs
The 5 EMA strategy uses the 5-period Exponential Moving Average to identify short-term trend direction and generate trading signals based on price crossing above or below the EMA.
Buy when the price closes above a rising 5 EMA. Sell when the price closes below a falling 5 EMA. Always wait for a clear confirmation before entering a trade.
Most beginners prefer 5 or 15-minute charts. Scalpers use 1 or 3-minute charts, while swing traders may choose hourly charts. The best timeframe depends on your trading style.
The 5 EMA reacts faster than longer moving averages. It gives earlier signals but also creates more noise compared to slower averages.
Common mistakes include trading every crossover, ignoring the overall trend, skipping stop-losses, and not waiting for confirmation.
Apply your rules to past charts and record results. Track wins, losses, and risk-reward. Gain confidence with your strategy before using real money.